Did you know that food can spoil if left at room temperature for over two hours? Spoilage can even occur within an hour if exposed to 90° F or higher!
Unfortunately, the bacteria that trigger food spoilage also cause foodborne illnesses. Worse, some disease-causing germs, including the Listeria monocytogenes, can survive in cold conditions. That can allow them to continue living even inside your refrigerator.
That’s enough reason to deep clean your fridge regularly.
If you’re not sure where to start, don’t worry, as we’ll teach you how to clean a smelly refrigerator with vinegar. So read on to discover the steps to sanitizing your fridge using this kitchen staple.
Prep Your Ingredients and Tools
When using vinegar to clean a refrigerator, go for the distilled white kind, as it has no colorants. That color-free characteristic helps ensure the vinegar doesn’t stain surfaces. That’s also why it makes for an excellent shower door glass cleaner.
Distilled white vinegar is also cheaper than many of its counterparts. Still, it has enough acetic acid to cut through grease and clean without streaks. That acid also gives it its sourness and disinfecting properties.
Don’t use distilled white vinegar as-is, though, as it’s still an acid and can cause corrosion if not diluted. Besides, you only have to mix it with an equal part of tap water; if you’re using 1 cup of vinegar, use the same amount of water.
If possible, combine the solution in a spray bottle to make it easier to clean your fridge from inside to out. You can then spritz some of it onto a piece of clean cloth or towel later on as you clean. You can also spray it directly onto your fridge’s interior and exterior surfaces.
If you don’t have a spray bottle, you can concoct the mixture in a bowl or a small bucket. You can then dip a piece of cloth or towel in there, but make sure to wring it thoroughly. Otherwise, you’re likely to deal with drips all over your fridge’s surfaces.
Unplug the Fridge
According to researchers, a fridge with an open door uses 40% more energy than one with a closed door.
So, before sanitizing and cleaning a refrigerator with vinegar, unplug it first. That can help prevent energy waste, and it’s also safer. After all, it’s an electrical appliance, and electricity and wet hands don’t mix.
Transfer the Contents to a Cooler
Depending on your refrigerator’s size, cleaning it may take about an hour. So, if possible, transfer its contents to an icebox or a cooler to avoid leaving food out at room temp.
If you don’t have one, you can place some of the easiest-to-spoil items in the freezer. Even when unplugged, it remains cold as long as you keep its door closed.
If there’s no freezer space, you can put some items over ice.
Remove and Clean Drawers and Shelves
Remove drawers and shelves, and then spray them with the vinegar solution. Spritz more onto crusty build-up. Let the mixture sit for a few minutes until the hardened deposits soften.
Then, wash the drawers and shelves with regular hot water and dish soap. Rinse thoroughly and wipe dry.
Clean the Interiors
Spray or apply generous amounts of your vinegar mixture all over the inside of your fridge. Don’t forget the side of your fridge door and the door gasket.
Wait for about 5 minutes, and then try wiping away any hardened build-up. If it doesn’t budge, spritz some more of your vinegar solution and let sit again for another 5 minutes.
Rinse and Dry Interior Surfaces
Wipe the interiors using a clean towel dampened with plain water starting from the top. Work your way from one side to the other to help prevent soiling areas you’ve already cleaned. Then, use a fresh towel to dry the surfaces thoroughly.
Wash the Exteriors
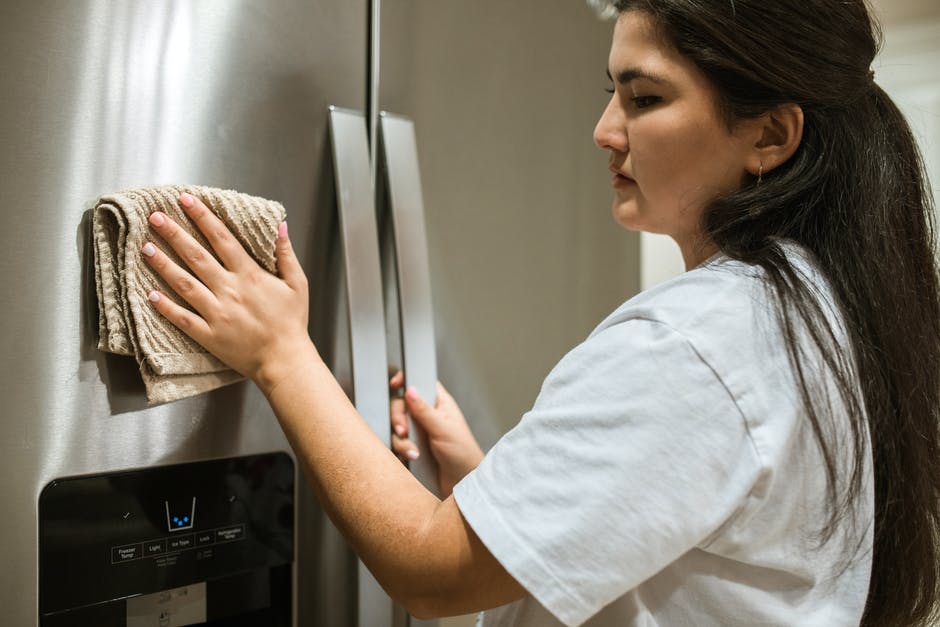
Spritz or apply your vinegar solution on all sides of the fridge, including the back and the top. It’s safe to use the mixture on condenser coils, but don’t let it sit for too long.
Alternatively, you can spray your DIY cleaner onto a towel and use that to wipe the coils. You can also use an old toothbrush to remove more stubborn dirt build-up.
Finish the job by using the same interior rinsing and drying tips.
Put the Drawers and Shelves Back
Once the inside and outside of your fridge are clean, you can start putting back the drawers and shelves. If you have baking soda, you can make a baking soda bath to help further neutralize fridge odors. You can also pop open a fresh box and leave it inside, by a corner at the back of your fridge.
Check and Wipe Food Containers
Before you refill your fridge, check each food container to see if its contents are still good. Experts say it’s okay to eat refrigerated leftovers within three to four days. After that, though, their odds of causing food poisoning can increase.
If you can’t remember when you cooked them, throw the leftovers, or turn them into garden compost.
As for the stuff you can still eat, see if you can transfer them to smaller containers. Doing so can help free up precious space in your fridge. It’s also wise to label them with dates so that you can eat them on or before their ‘expiration’ date.
Next, follow the FIFO (first in, first out) method as you organize your fridge’s contents. Place the ones closest to spoiling at the front so that you’re less likely to forget about eating them.
Also, as you place food items back into the fridge, wipe down their containers. That can keep condensation and water spots from fouling your just-cleaned refrigerator.
Follow This Guide on How to Clean a Smelly Refrigerator
As you can see, all you need is some vinegar and water to sanitize and make your fridge spotless. And since you now know how to clean a smelly refrigerator with this kitchen staple, it’s time to get started.
As a final tip, be sure to deep-clean your fridge every three to six months.
Are you too busy to clean your fridge, let alone your home? If so, then Hubbard’s Maid Service can help save the day. Call us now to request a free quote or schedule a home cleaning service!


