
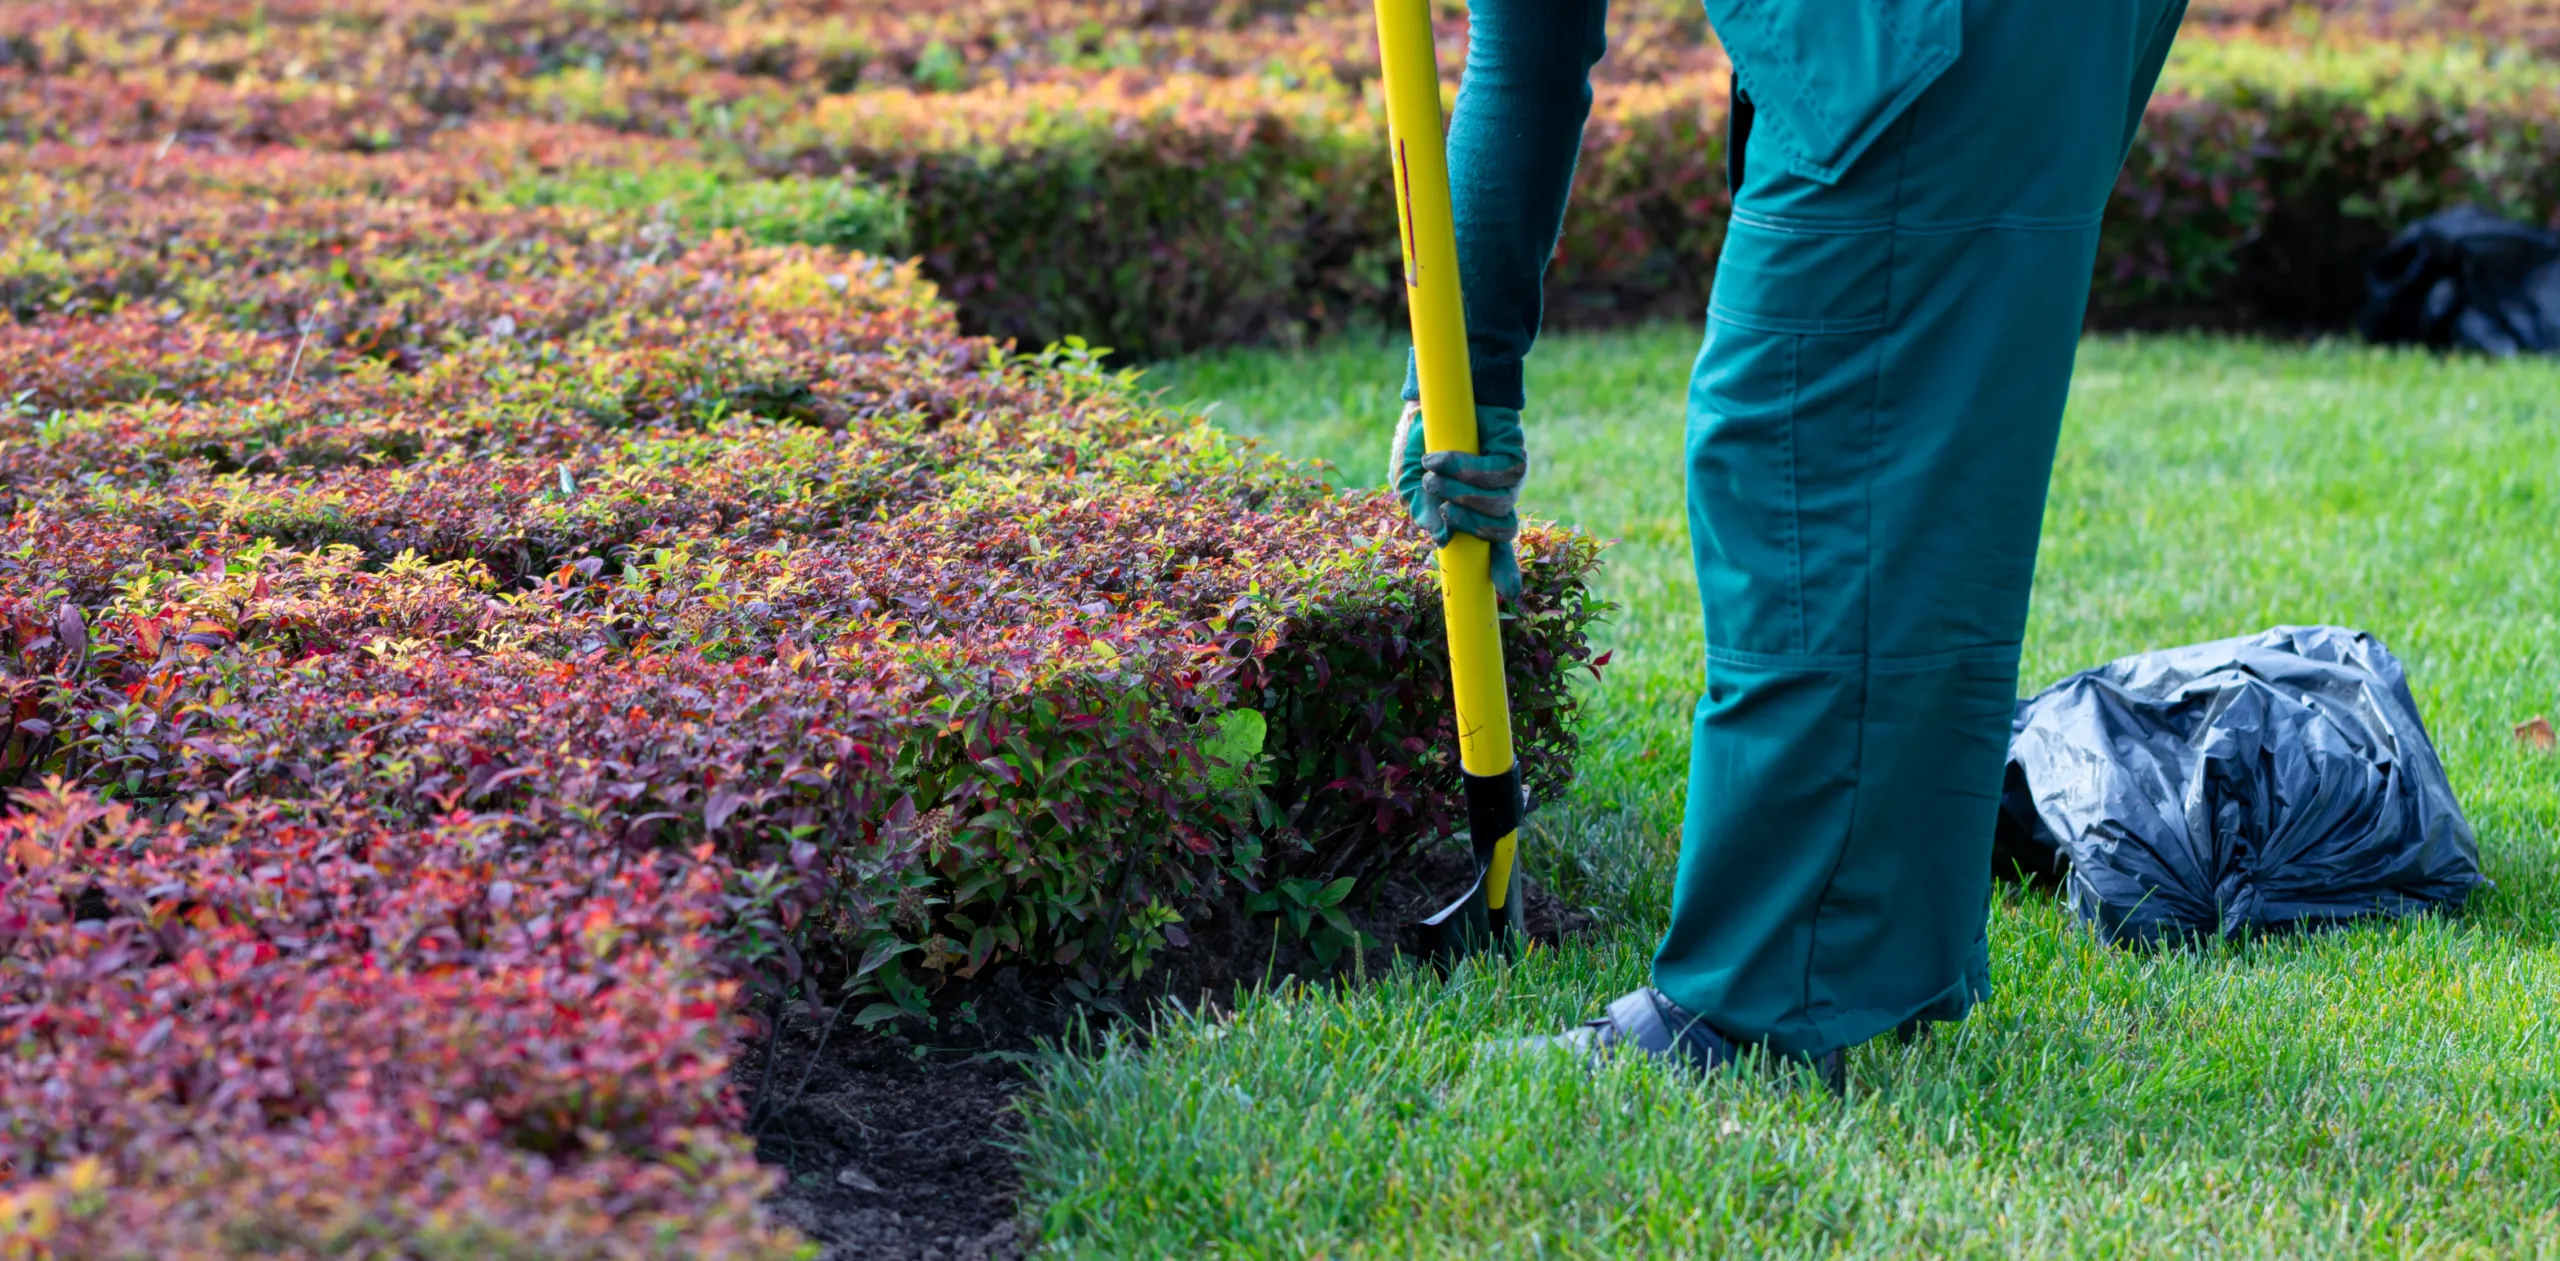
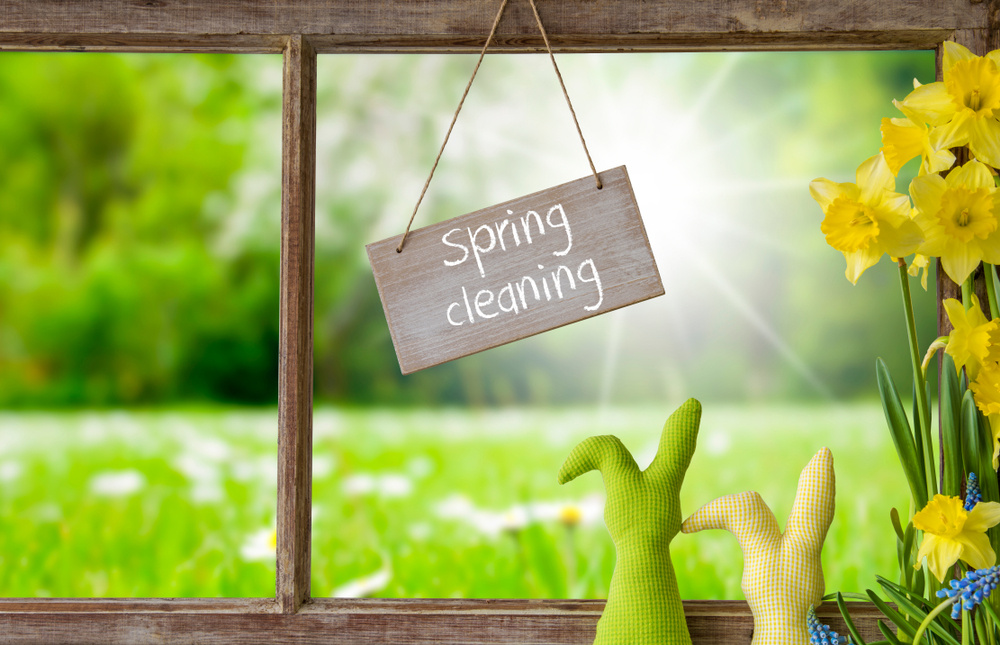
Top 5 Spring Cleaning Tips in 2022
There’s so much to love about springtime. The holidays melt into warmer weather, bright colors, and fragrant aromas. All the world becomes green and alive.
But, while nature celebrates the arrival of spring, many of us are filled with dread. That’s because spring is also the one time of year to render the house completely spotless.
Furthermore, spring cleaning isn’t just one daunting task but several: clutter, windows, sinks, floors, grout, etc. Worst of all, poor planning makes all of this work twice as difficult.
But don’t worry. These spring cleaning tips will keep you on track and help you avoid burnout. Follow the steps below to clean your house efficiently.
1. Get Rid of Clutter
Obviously, you can’t clean your home when it’s buried in clutter. Nor is there any point in moving the clutter just to put it back.
Save yourself from this ridiculous hassle by getting rid of the clutter before you clean. Here are a few ways to do this.
Take Some Time Off
First, know that decluttering your home might take longer than any other step on this list. Give yourself plenty of time (at least 3 days) to finish this task.
Compartmentalize
Next, break up the workload into tasks—very small tasks, to be specific. For instance, start with the medicine cabinet in one bathroom. Then, organize the bathroom counter.
Move on to the top drawer/shelf in the bathroom. Continue on, one section at a time.
As you do this, split the clutter into categories (trash, donate, second drawer, etc.). Once each section is decluttered, put the categorized clutter where it belongs.
Throw It Out
When removing clutter, it’s easiest to start with items that are obviously trash. Additionally, be ruthless about what you discard and picky about what you keep.
Donate
If you feel bad about throwing something out, donate it. Likewise, if you feel like no one would ever accept such a shoddy donation, throw that junk out.
Regift
Regifting is another way to donate your clutter. Items that are useful and in brand new condition might make great gifts.
Back It Up
A lot of your physical clutter can be turned into digital clutter so it no longer takes up space in your house. You can get rid of piles of documents and pictures this way.
2. Organize by Task
It seems logical to clean room-by-room. But it’s not efficient.
For example, imagine cleaning the whole bathroom at one time. You wouldn’t use window cleaner on the floor or floor cleaner in the toilet. Instead, you switch between several products/methods—one for each different cleaning task.
Thus, it makes a lot more sense to clean by task, not by room. For example, you can start by cleaning all the glass surfaces in the house.
Then, you don’t have to constantly switch what you’re doing or how you’re doing it. Rather, you take one cleaning solution and some towels to each room in the house until you’re done.
3. Clean Top-to-Bottom
Cleaning tasks should be completed in a particular order, namely top-to-bottom. To illustrate, consider what happens when you clean the countertops after you clean the floor. Typically, the crumbs from the dirty counter fall, making the clean floor dirty again.
Conversely, the house stays clean longer when you clean with a top-down approach. For your convenience, here’s an ordered checklist to follow.
1. Clean the Return Vents/Ceiling Fans
Always start by clearing dust off of the ceiling fans and HVAC return vents. Return vents are usually located on the ceilings of several rooms. Alternatively, they might be located on one or more walls.
Furthermore, the high-up location of vents/fans isn’t the only reason to clean them first. They need to be cleaned now so that you can turn them on while you clean the rest of your house.
You see, your remaining cleaning tasks, like dusting and vacuuming, will throw the dust into the air. When the HVAC fan and ceiling fans are on, the return vents suck this dust out of the air and trap it in the air filter.
For this reason, you also want to put in a new air filter before you clean. Plus, check the air filter after you clean it and consider replacing it.
2. Vacuum Before You Dust
We realize that this seems out of order. But it’s pointless to dust before you vacuum.
Vacuuming the floor spews tiny particles of dust in every direction. Slowly, these particles land on every surface, including those that were just cleaned.
3. Attack Cobwebs
While you wait for the post-vacuuming dust to settle, deal with cobwebs. Clear the cobwebs off of your ceilings and out of high-up corners. Check high on the walls and in window frames, too.
4. Dust High-to-Low
Now, dust everything. Usually, the highest objects to dust are:
- Doorframes
- Tall furniture (wardrobes, framed mirrors)
- Wall-mounted objects (shelves, picture frames, TVs)
In any case, start with the highest objects and work your way down.
5. Wipe Tables and Countertops
Next, clean any table-level surfaces. This typically includes various kitchen surfaces, such as stovetops.
6. Sweep Floors
Finally, when nothing else is left, clean the floors. Avoid vacuuming since it would dirty up your freshly cleaned surfaces. Sweeping and mopping are ideal.
4. Equip Yourself for Efficient Cleaning
Before you follow the checklist above, get yourself a cleaning cart like the professionals use. If you don’t, you’ll spend half of your house cleaning time walking back and forth for cleaning supplies. It saves you so much time if you bring a mobile cleaning station with you as you move from room to room.
And once your dusting is complete, get some display cases for all your knickknacks. Surely, you realize what a pain it is to remove and reposition all your collectibles every time you dust. So, just put them all in a display case and you’ll never have this trouble again.
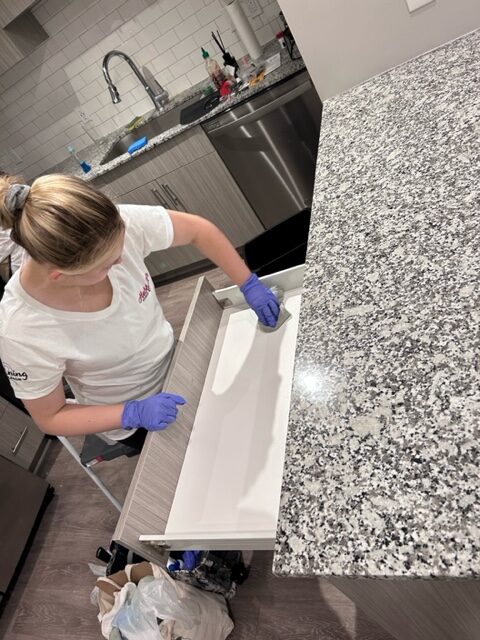
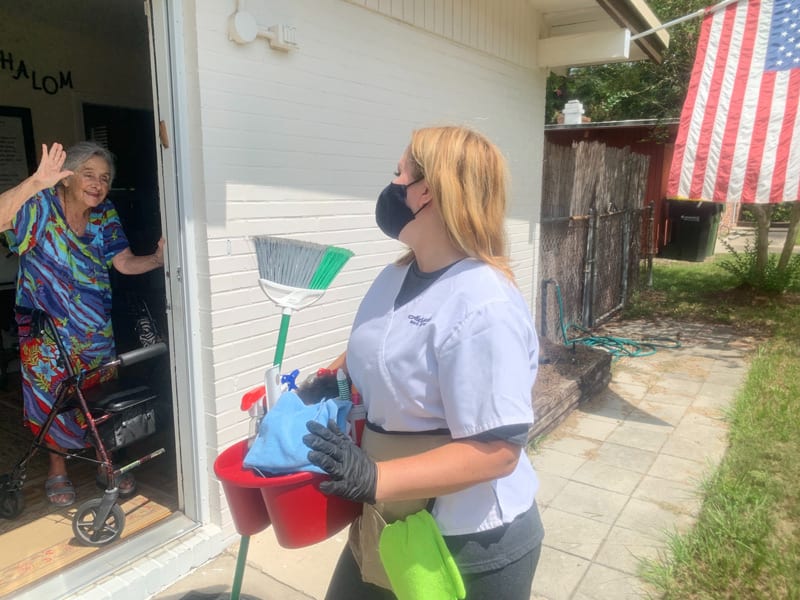
5. Get Professional Help
Speaking of avoiding trouble and making things easier, consider recruiting professional cleaning services. At least get a price quote. Then, you can consider all the factors and do the math.
For example, let’s say you take 3 days off of work to do spring cleaning yourself. How much do these 3 missed days cost you? You may find it cheaper to hire professional cleaners.
Follow These Spring Cleaning Tips
Keep these spring cleaning tips bookmarked so that you don’t forget them. Or, print out this house cleaning guide so you can use it as a checklist while you clean.
Finally, don’t take on more cleaning than you can handle. See what our professional house cleaning services can do for you. Request a free estimate now to get started.
Share this article
Related Posts


Follow us
A quick overview of the topics covered in this article.