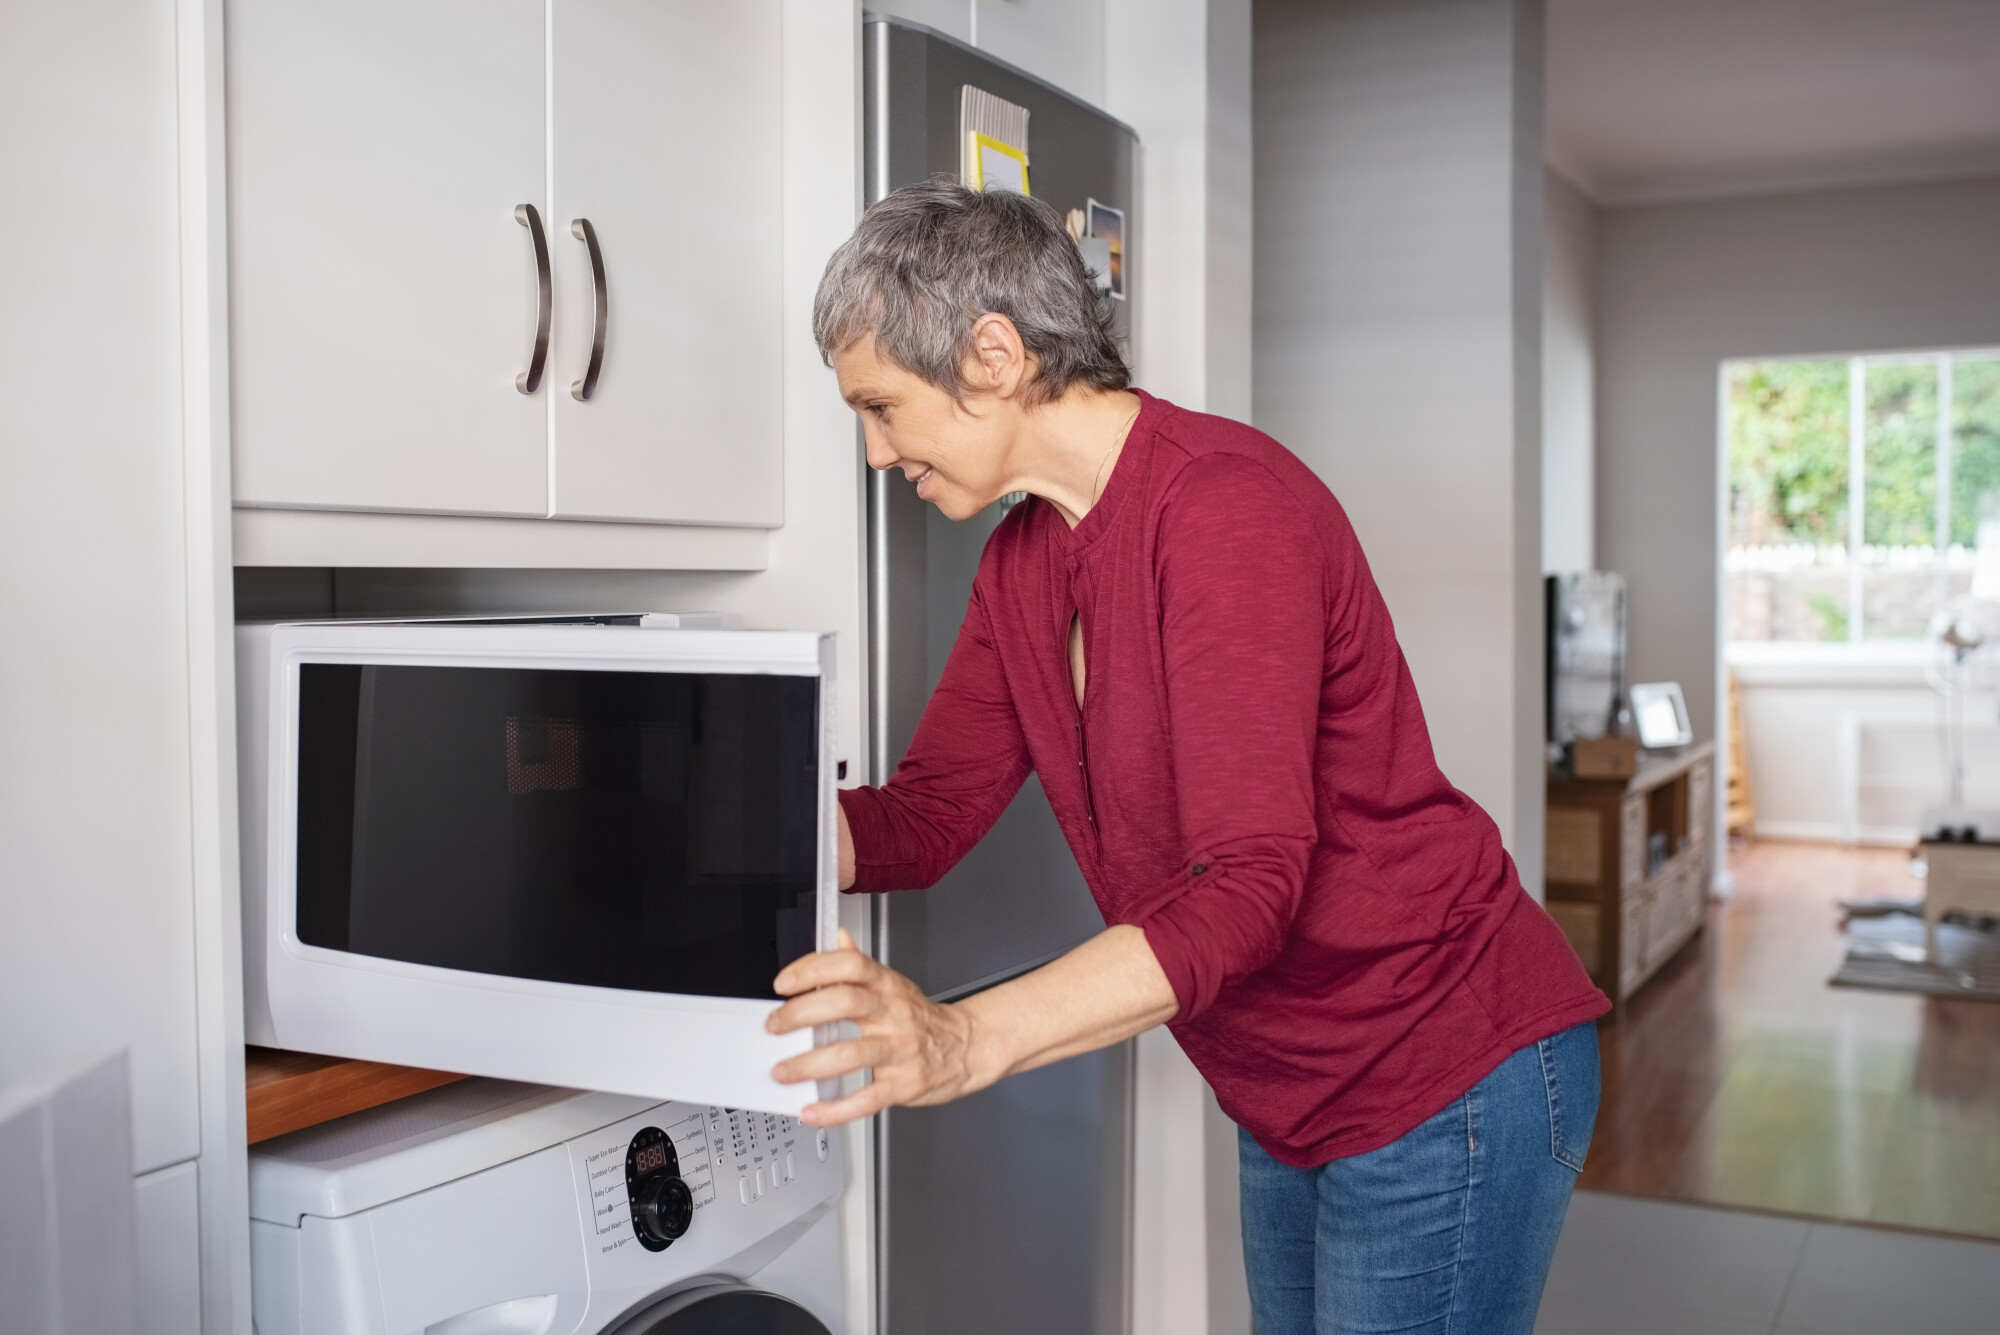
From spaghetti and soups to all kinds of leftovers, your microwave sees it all. That’s why it’s not surprising to see it coated with a fine film of grease, along with spills, splatters, and crusty, stuck-on bits.
Cleaning this appliance isn’t always easy. For most people, the grime is so bad, it’s hard to know where to begin. In fact, one survey found that eight out of 10 people never clean their microwaves at all!
We get it, and we’re here to help.
Today, we’re sharing how to clean a microwave the right way, from top to bottom. Follow these steps and you’ll always know how to keep yours shiny and fresh.
Regular Microwave Oven Cleaning
As with most things in life, an ounce of prevention is worth a pound of cure when it comes to cleaning your microwave. If you really want to keep yours clean, make it a habit to wipe it out with a damp microfiber cloth after every use. You can keep a clean cloth stashed near your appliance to make this step easy and effortless.
The only problem?
When food comes out of the microwave, it’s piping hot and ready to eat! No one wants to spend a few minutes scrubbing every corner of the appliance while their hot, buttery popcorn turns cold and stale.
That’s why it helps to know how to deep-clean yours every once in while. Thankfully, the process is easy. It also uses mostly items that you should have in your fridge or pantry, which cuts down on the cost.
Deep-Cleaning Your Microwave
You’ve let your microwave go a little too long between regular cleanings. Now, the inside has a yellowish stain, there’s visible gunk on the top, sides, and turntable, and the odor is more than a little funky.
No fear! You can transform your microwave in just a few minutes, as long as you know what to do. Here are the simple steps to follow.
Step 1: Make Your Solution
First, pour one cup of water into a microwave-safe bowl (no plastic!). Then, squeeze the juice from a few slices of citrus into the water. You can use lemons, limes, or oranges.
If you don’t have any fruit on hand, you can add a few drops of white vinegar or apple cider vinegar to the water. If you don’t prefer the scent of vinegar, you can add a few of your favorite essential oils to the liquid!
To break up super-tough grit, mix at least two tablespoons of baking soda into the water instead.
Step 2: Make a Steam Bath
Next, place the bowl in the microwave. Run it on high for a few minutes, or until you can see that the water has started to boil. Usually, three to five minutes will do the trick.
This will create steam within the microwave, which will help loosen up anything that’s stuck onto the interior surface.
Step 3: Cool Down and Wipe
Once the time is up and you know the water has boiled, allow the bowl to sit in the microwave for five to 10 minutes with the door closed. This gives the steam time to work its magic and allows the bowl to cool down so you can handle it.
Then, carefully remove the bowl using hot pads. Next, take out the small turntable in the middle, as well as the glass plate that sits on top of it. Wipe both of those items down using a clean rag.
With the turntable still out, use another clean, damp rag to wipe down the rest of your microwave. Pay close attention to every surface, including the door, sides, top, and bottom.
As you wipe, steer clear of the vents. Getting grease or grime in there could cause mechanical issues that affect the microwave down the road.
Step 4: Treat Surface Stains
Even after all of these steps, you might still notice stains inside your microwave. If this is the case, dip your rag into the warm water solution and scrub the spots. The acidity of the liquid should cut through any leftover gunk, though you may need to put a little power behind it!
Step 5: Return and Use
Finally, you’re ready to get your microwave back in working order. Carefully put the turntable and glass plate back in the middle, and you’re ready to go!
Cleaning the Exterior
When you’re researching microwave oven cleaning tips, it’s also helpful to know how to scrub the outside of your appliance! This surface sees all kinds of grime, from sticky fingerprints to greasy smudges.
To help it look its best, dampen a clean sponge with water and dip it into a small amount of baking soda. Then, scrub the entire door, including the edges and seal. If the grease is super-heavy, you can try a more potent blend of 50% white vinegar and 50% water.
As you clean, remember to stay away from the electronic controls of your microwave, and never spray any type of cleaning product directly onto them. In addition to a clean microwave, you also want one that works, so those buttons need to stay nice and dry!
One note: You can follow these same steps to clean the interior of your microwave door, too. This surface is especially prone to sprays and splatters and it may require a little extra care beyond the five steps listed above.
Now You Know How to Clean a Microwave
When you know how to clean a microwave, pasta night becomes a little less worrisome! While some debris might look daunting, this method can remove any amount of muck.
While the process is easy to follow, there’s an even easier way to clean your microwave: Let us do it for you!
At Hubbard’s Maid Service, our team of experienced professionals knows how to clean any surface in your home to a beautiful, spot-free shine. We offer a variety of different services designed to help your home look its best from top to bottom.
To learn more, request a quote today!


